When using your SAVER Field Instruments, you have to consider the recording setup and the number of trips to collect the data you are interested in analyzing. You can think of this as developing your SAVER game plan.
Like any game plan, positive results are best achieved by putting your “players” in a position to be successful. In the case of the SAVERs, putting them in a position to be successful is the result of proper mounting.
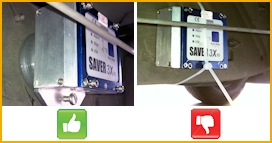
Vehicle and structure measurement applications are common. Mounting the SAVER ridgidly using magnetic mounts and other secure methods prevents erroneous data associated with rattling and ringing.
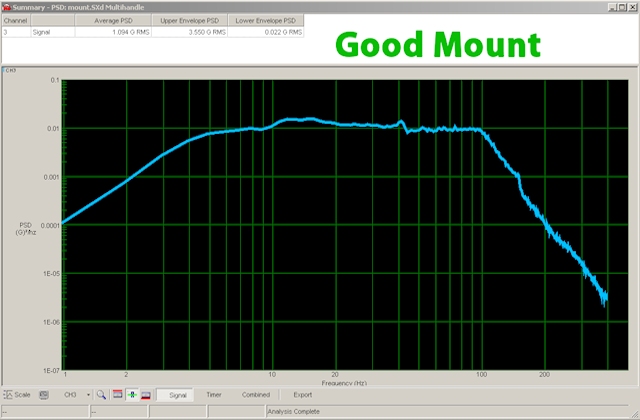
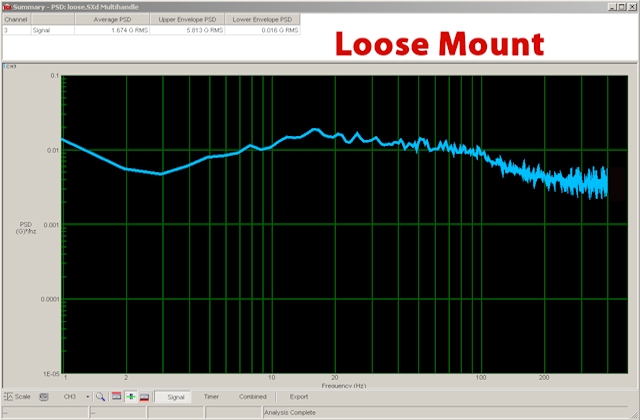
Using zip ties or tape to mount a SAVER may seem like a secure interface. Let us assure you, it’s not. If SAVERs are not mounted securely, the rattles and rings can obscure the dynamic data you are trying to collect. It is also important to document the mounting orientation so you can clearly relate the data to the directions events occurred during measurements.
The examples below show the difference between valid data and noisy data from a loose mount.
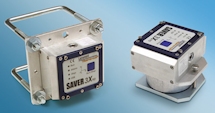
To make it easier to securely attach SAVERs to vehicles or other structures, Lansmont offers mounting kits for all our SAVER models. The kits include mounting plates and an assortment of attachment hardware. If you're able to attach your SAVER to a ferrous surface, our magnetic mounting kit is the best non-intrusive method of ensuring a rigid installation.
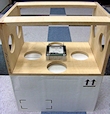
For in-package measurements, the SAVER also needs to be rigidly attached to collect useful data. Just placing a SAVER inside a package will result in erroneous data. The best approach is to mount the SAVER to a fixture inside the package. If you need assistance with mounting recommendations or fixture design, Lansmont has the expertise to help you design and validate your measurement fixtures.
Please contact our Field-to-Lab Products Manager, Patrick Blizinski, if you have any questions about proper mounting techniques.